Showing posts with label Cookies. Show all posts

Friday, May 2, 2025

Viennese Whirls

 Again!  What is it with the late post?  Well, maybe I got a little bit distracted?


We had the best time on the Big Island of Hawai'i but that shouldn't be an excuse.  My goal was to make something every month.  I finished these cookies at 9:45 thelast night of the month, April 30th-so I met my goal-I just didn't get it posted until now, May 2, 2025. So here we go!


Have you ever heard of a Viennese Whirl? It's a butter cookie made into a sandwich.  I was worried it would be a bit like the cookies I made for Valentine's Day but it's not. (I liked those better) These are an
easy cookie to make but not a great choice for someone who is right handed and has some arthritis happening in said right hand.  Squeezing these out of that little bag was hard and they really don't look great.  But, they do taste pretty tasty.
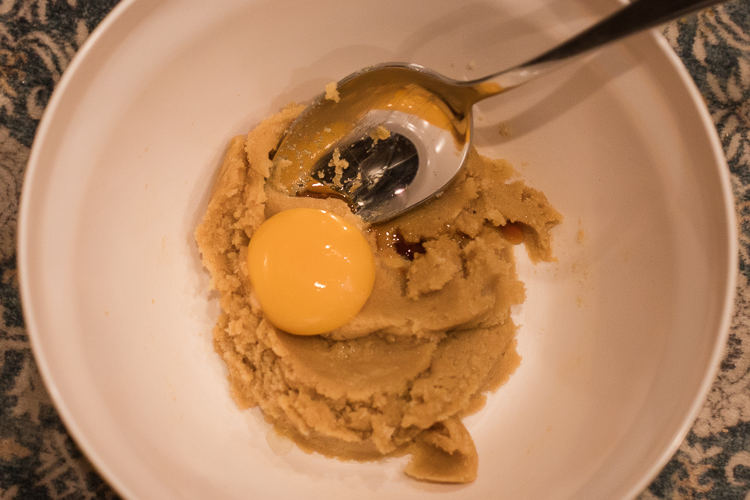
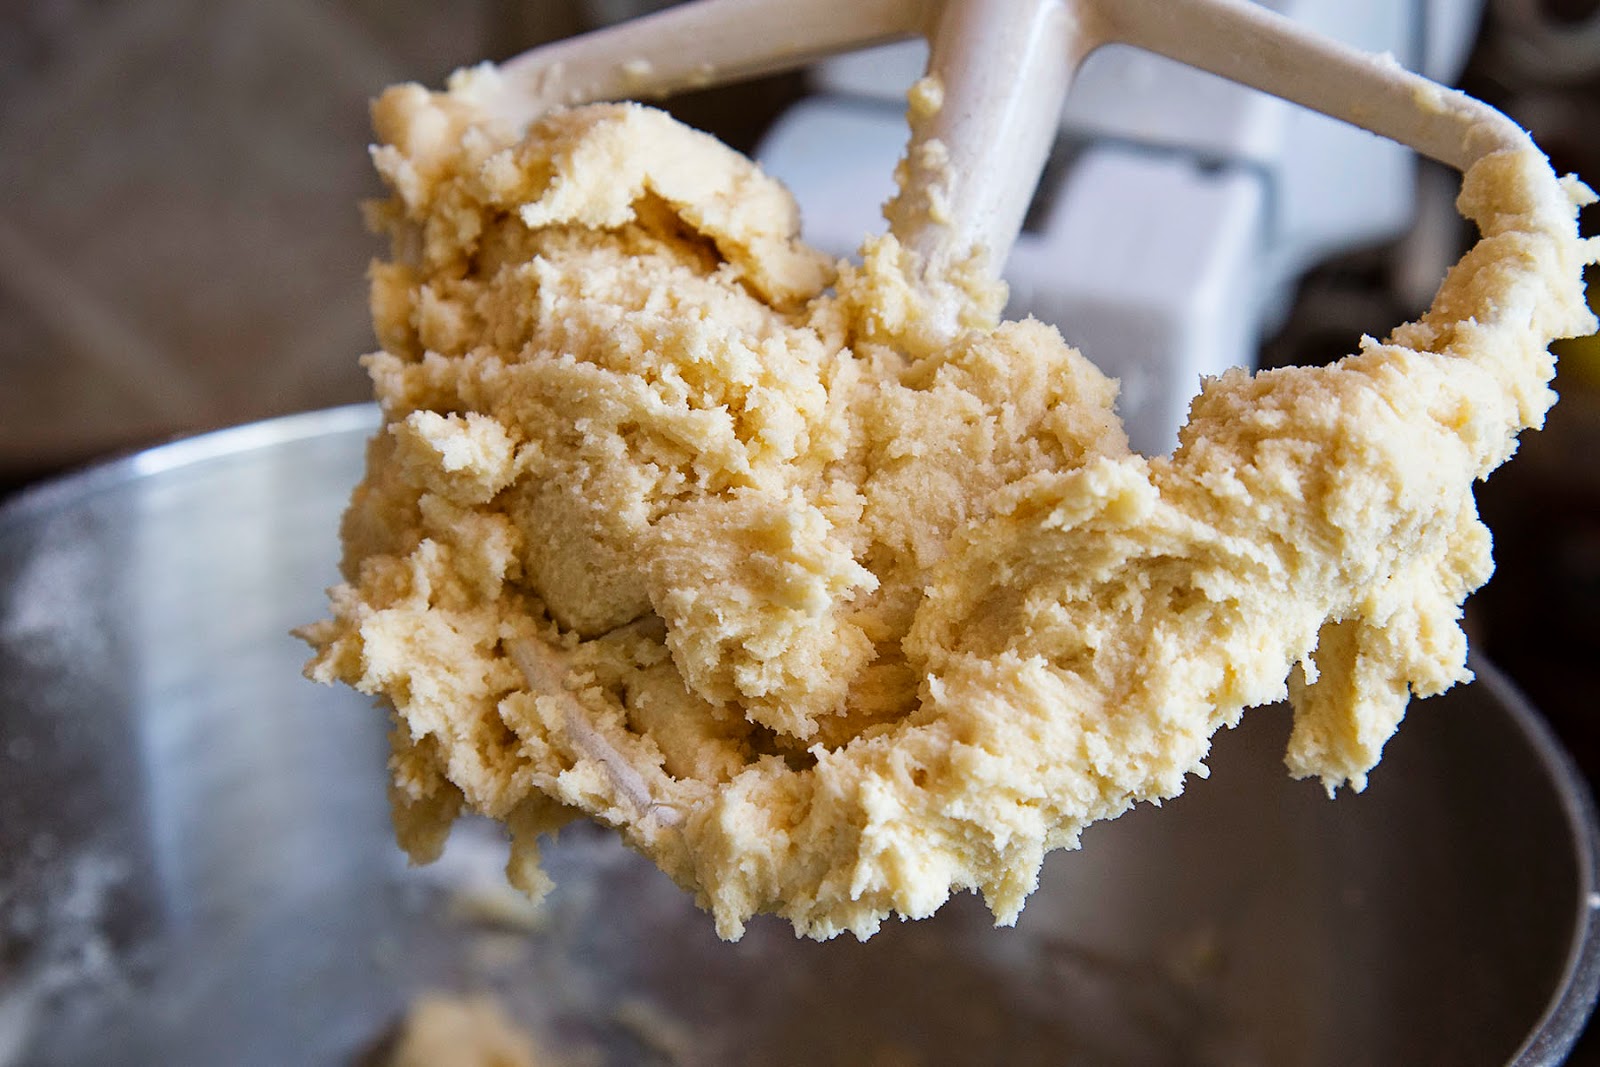
The dough is easy to mix together.  It's just butter and powdered sugar that you beat hard for 5 minutes.  It has some vanilla, all purpose flour, and cornstarch, and maybe a little tiny bit of milk.  That's it-no eggs.
The trick comes in making them look pretty with a star tip and piping bag.  

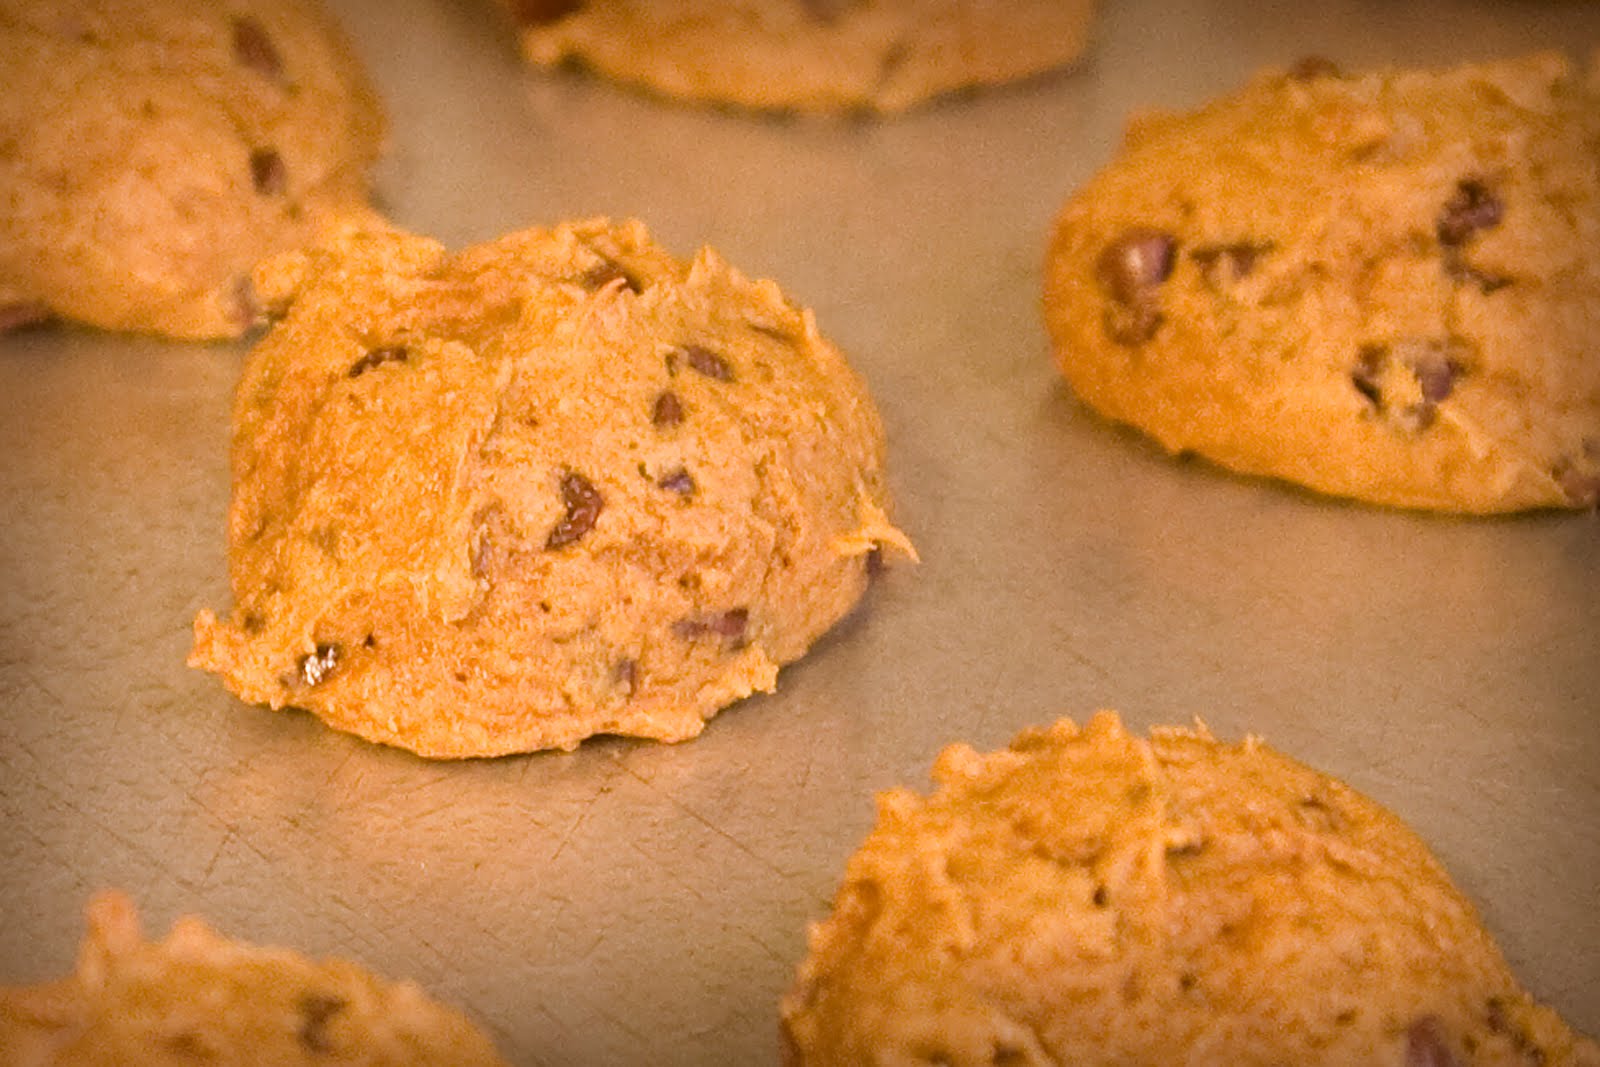
Draw 2 inch circles on the back of your parchment and then you know where to pipe.  My circles were a bit larger than 2 inches so I piped inside the circle and it seamed to work.  Refrigerate for 10 minutes and then bake at 355*.  Let them cook completely on the cookie sheet and then remove with a spatula.

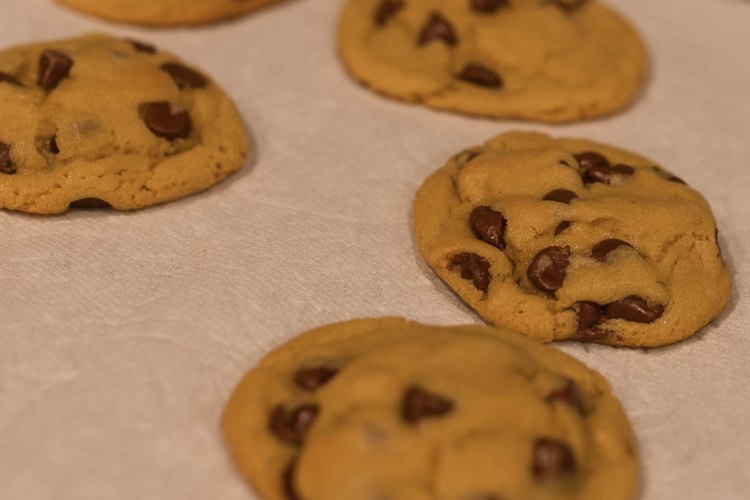
Frost with the buttercream and add some jam. Top with the other cookie and there you go.  Sprinkle with a bit of powdered sugar is always a great addition.  But not before I took a bite.  They really are quite tasty.


Would I make these again? Probably!  Would I let Mike squeeze them into the circles? YES!  My poor hand was killing me by the time I finished. I hope you will give them a try.  And remember, weighing your ingredients helps to give you consistency.  Get a scale, it really is best to weigh instead of measure.

Viennese Whirls

250 g unsalted butter at room temp (I used salted butter)
3/4 c (105 g) powdered sugar
1 tsp (5 g) vanilla extract
1 1/2 c (225 g) all purpose flour
1/2 c (68 g) cornstarch
**Note here, my dough was so stiff that I added about 1 tbls milk to help and it worked great

Filling

125 g (1/2 c) unsalted butter (or salted)
1 1/2 c (210 g) powdered sugar
1/2 tsp (3 g) vanilla extract
1 Tbls milk - more if needed
raspberry/strawberry jam

Preheat oven to 355*
Line baking sheets with parchment paper that you have drawn two inch circle on the back
In an electric mixer mix the butter until well mixed and then add the powdered sugar and vanilla.  Beat hard for about 5 minutes, scraping the edges a couple times in that 5 minute period, or until it is light in color and light in texture.
Sift the flour and cornstarch into the butter and mix with mixer or by hand.  Add a little milk if it's too stiff-the dough should be soft but not loose
Put the dough into a piping bag that has been fitted with a large star tip.  Squeeze dough into the circles starting at the outside and coming into the middle.  Lift up and move to the next circle.
Put in the refrigerator while you do the next baking sheet.
Bake the first sheet for 10 minutes or until no raw dough is left and edges are just starting to brown.
Let cool on the pan.  
Remove and pair up the cookies with like sizes.  Spread or pipe the buttercream onto one cookie, add jam and top with the other cookie.  Dust with powdered sugar.
*Note, you can store cookies in the refrigerator for up to 5 days if they last that long!

Keep Baking!


Thursday, February 13, 2025

Biscuit Week Meets Valentine's Day

 On the Great British Baking Show, they always have a biscuit week.  The challenges are fun and I thought I should give one of the recipes a try.  A"biscuit" in Great Britain is a hard, thin, and crispy cookie that has a snap and is sometimes filled with something yummy. By definition, it's sweet, crumbly and sometimes buttery.  So this week/month, as my tribute to our friends across the pond, I made Paul Hollywood's Jammy Biscuits.  They are easy to make, BUT they take some time.  Delicious is an understatement. You'll have to give them a try and let me know what you think.


Because everyone, but us American's, use grams instead of cups, I am putting the recipe at the bottom of this post in both grams and measurements for those who don't want to figure out the conversions.  But, remember, it's better to weigh the ingredients than to measure them.  Just sayin!


Cream the butter and sugar together and beat for 3-5 minutes in your stand mixer.  Add the vanilla and eggs and beat until creamy. (*Note, I added half vanilla and half almond extract) Remove from the mixer and stir the flour and cornstarch in by hand.  It will be on the crumbly side but that's okay.  Pour it out onto a floured surface and gently work it with your hands to make a soft dough. Don't overwork it.


Divide the dough in half and then in half again so you have four equal sizes and form them each into a disc.  Wrap east disc in plastic wrap and place in your refrigerator to chill for 20 minutes.

After 20 minutes, remove one disc and roll it out to about the thickness of a nickel - because this was my first time making these, (and I WILL make them again) some may have been a little thicker and some a little thinner.  It's a learning process!


I cut them with a 3 inch fluted cookie cutter.  Paul says to use a 2 3/4 inch but I didn't have one that size.
Place on a cookie sheet that has been lined with parchment paper and put back into the refrigerator for another 20 minutes. You want half of your biscuits to be plain and the other half to have a cutout of your choice in it.  I chose hearts for Valentine's Day!
After 20 minutes in the refrigerator, place them in a 325* oven for 10-12 minutes.  Keep an eye on them so they don't get too brown but you want them to start to barely brown around the edges.  Mine actually baked for 14 minutes but it will be different for each oven, so watch them.

Let them cool on the pan for 5 minutes (I know, you will be setting your timer over and over and over).  Remove to a cooling rack and let cool the rest of the way.
Once they are cooled they are ready to assemble.
Before hand, dust the tops with a generous amount of powdered sugar.  You want them to really look beautiful!

Next, frost the bottoms of the plain biscuit with a little bit of the buttercream and then top that with your favorite jam. You can use raspberry, lemon curd, apricot preserves or strawberry jam.  I used strawberry.


After you spread the jam, carefully top with a powdered sugar biscuit with the cutout.  Look how cute these are.  I took them to the office where I volunteer today and the ladies went a little crazy.  There was not one soul who didn't rave about how yummy they are. 
Happy Valentine's Day and Happy Biscuit Week!  


Paul Hollywood's Jammy Biscuits
(this is a double batch because I needed more than 12 biscuits)

240 grams unsalted butter softened  -  1 cup
240 grams sugar  - 1 cup
2 eggs
1 tsp vanilla
430 grams all purpose flour - 3 1/2 cups
50 grams cornstarch - 1/2 cup

Buttercream

1/2 cup softened butter
1 1/2 cups powdered sugar
1 tsp vanilla

Mix the butter until fluffy, sift in the powdered sugar and add the vanilla.  Mix until thick and fluffy. I did add about 1 tsp of whipping cream to help bring it together.  It will be thick.

Mix the butter and sugar until fluffy - about 3-5 minutes in your stand mixer.  Add the eggs and the vanilla and mix until well blended.  Remove from the stand mixer and stir in the flour and cornstarch (mix these together with a whisk) until almost mixed- it will be crumbly.  Pour out onto a lightly floured surface and gently work with your hands into a soft dough.  Do not overwork.  Divide in half and then divide each half in half again. (*Note, if you are making half this recipe, only divide the dough in half)
Form each piece into a disc and wrap in plastic wrap.  Put in the refrigerator to chill for 20 minutes. 
After chilling your dough, remove one disc and roll out to about the thickness of a nickel.  Cut with a fluted cookie cutter and place each biscuit onto a cookie sheet lined with parchment paper. Rework the dough scraps and cut more until you have 12 bottoms.  Put back into the refrigerator to chill for another 20 minutes.  Remove another disc and repeat the process, except, with these you want to cut a shape into the center of the biscuit.  It can be any shape for any holiday that you want. Put the solid biscuit onto the cookie sheet and then cut the shape out.  Save the dough and use it to make a few extra biscuits. Put them in to chill.
Meanwhile, preheat your oven to 325*

Bake the first sheet of biscuits for 10-12 minutes watch them so they don't get overly baked.  You want the edges to just begin to brown.  Remove from the oven and let cool on the cookie sheet for 5 minutes.  Remove to a cooling rack and cool the rest of the way.

Dust the tops with a generous amount of powdered sugar.  Assemble the biscuits by spreading a dollop of the butter cream on the plain biscuit and then top with your choice of jam.  Add the top biscuit.  What a delightful treat.

Keep on Baking!


Tuesday, January 21, 2025

Eat the Whole Batch Chocolate Chip Cookies

Have you ever had a hankering for some warm and gooey chocolate chip cookies BUT you knew if you made a big batch you would be in real trouble to have them in such close proximity.
I found this cookie recipe that is only supposed to make 6, yes, you heard that right, 6 cookies.
I tried the recipe and yup- it made 6 delicious chocolate chip cookies. I thought you might like the recipe.

Preheat oven to 350*
First, you start with 3 Tablespoons of soft, salted butter.  
Add 3 Tablespoons brown sugar and 1 1/2 Tablespoon granulated sugar

Mix everything together with a spoon.  No need to make a mess with the stand mixer-or even a hand mixer for that matter.  The spoon works great.

Add 1 egg yolk (save that white for something else) and 1/2 tsp vanilla.  Stir it all up together!
Add in 1/2 cup flour, 1/2 tsp cornstarch, and 1/4 tsp baking soda.  I mixed the dry ingredients in a separate bowl just to make sure the cornstarch and soda were mixed in well.

Add 6 Tablespoons chocolate chips and stir them to incorporate.  You are now ready for the magic.
Roll the dough into 6 balls.  I made 9 because I'm taking 4 to bowling tomorrow.  Did you know that I bowl?  Yes!  I'm on a bowling league with friends that I have known for over 60 years. (Sorry, that really dates me-I'm old!) The problem is that when we get to our third game, we're a little out of steam, so I thought if we had a little sugar, it might ramp us up for that third game.  So, tomorrow, cookies after game two. We'll see if my madness works.

Sorry about the squirrel.  Roll the dough into 6 or 9 balls and put them in the freezer for 5 minutes.  This is important because you don't want them to spread flat all over your cookie sheet.
After 5 minutes, put them on a cookie sheet and place in your oven.  Bake for 9-10 minutes or until they are golden on top but not over baked.  I actually baked these for 11 minutes.

Cool on the cookie sheet for a minute and then move to a rack.  If you like them warm they are perfectly crunchy on the bottom, soft in the middle and so full of melted divine chocolate.

So that's my story about the 6 chocolate chip cookies and how you can eat the whole batch if you want to.
Enjoy


6 Chocolate Chip Cookies

preheat oven to 350*

3 Tbls Salted Butter, softened
3 Tbls brown sugar
1 1/2 Tbls granulated Sugar
1 egg yolk
1/2 tsp vanilla
1/2 cup all purpose flour
1/4 tsp baking soda
1/2 tsp cornstarch
6 Tbls chocolate chips (I used semi-sweet)

Mix the butter and sugars together with a spoon.  Add the egg yolk and vanilla and mix.  Stir in the flour, baking soda, and cornstarch.  Add the chocolate chips and mix well.  (There are a lot of chips)
divide dough and roll into balls (6 large or 9 smaller)
put the dough balls into the freezer for 5 minutes. 
Place on cookie sheet using parchment if you have it.
Bake for 9-10 minutes or until the cookies are golden brown.  Do not over bake.
Cool for a minute on the cookie sheet and then move to a cooling rack.

Eat warm or save.  You have my permission to eat the whole batch.  No judgement here!
*Hint, Mike likes to make ice cream sandwiches with them cookies, just a thought!

Keep on Baking!


Monday, June 26, 2017

Frosted Lemon Sour Cream Lemon Cookies

Three lemons, sitting on my counter top just begging me to make some of those yummy lemon bars we all love!  But, I figured if I was going to bake something with them, I should probably try something new and make a post.
So, I looked through my almost million Pinterest saves and came up with these little morsels of tangy lemoney goodness.  
They are soft and delicious and maybe they satisfied my lemon craving! But then, again, I might still need some lemon bars!
Lemon zest always add such deep lemon flavor!

The dough is sticky but the consistency of think cake batter!

Drop by the spoonful onto the cookie sheet.  
Bake until the center no longer glistens.  Do not overbake!

The frosting is full of lemon flavor.  The recipe calls for the juice of two lemons but I only did the juice of one lemon and then added about a tsp of milk to make it more of the consistency I liked. Of course I added yellow sugar sprinkles because sprinkles make everything taste better, right?
I couldn't wait to give them a try.  I really love this recipe.  It was quick and easy and you can make them any size you want just by the amount of dough you drop onto the cookie sheet. 
Give them a try if you might be craving lemon! 

FROSTED LEMON SOUR CREAM COOKIES

1/2 cup butter, room temperature
2 cups granulated sugar
4 large eggs
1/2 cup sour cream
zest of 2 lemons
juice of 1 lemon
1/2 tsp baking soda
3 tsp baking powder
4 1/2 cups all purpose flour

FROSTING

1/4 cup butter, room temperature
2 1/2 cups powdered sugar
juice of 2 lemons
yellow food coloring, optional

Preheat oven to 350 degrees F 

In a large bowl cream the butter and sugar.  Add eggs one at a time, mixing well after each addition.

Add sour cream, lemon zest and lemon juice.  Mix well. 

Add flour, baking soda and baking powder and mix just until combined.  Dough will be sticky and the consistency of thick cake batter.

Drop dough by spoon onto a greased baking sheet. (Use any size spoon for desired size of cookie) I baked a dozen on a large cookie sheet.  Make the drops as round as possible.  Bake for 10-11 minutes or until the center in no longer glistening.  Do not over bake!  Cool Completely!

FROSTING

With electric mixer, beat sugar until creamy.  Add powdered sugar and lemon juice and beat until smooth.  Color with yellow food coloring if desired.

Frost cooled cookies.  Sprinkle with yellow sugar sprinkles if desired.

ENJOY!


Wednesday, April 23, 2014

Texas Sheet Cake Cookies


So I found this recipe on Pinterest and was so excited to try it out because I LOVE Texas Sheet Cake.  This recipe is yum.  If you love chocolate, you will like these cookies


The ingredients are mainly what you have in your pantry!


 Start by creaming the sugars and butter together and then add the dry ingredients.  It is a pretty stiff dough


Add the melted chocolate chips and mix it well.


It said to drop by level tablespoons and that is what I did.  They made a pretty nice size cookie


Don't over bake these little gems

These are the ingredients for the icing.  I made the mistake of starting this icing before I was ready for it and so I let the butter, water and cocoa sit before I mixed in the powdered sugar.  It made the icing too thick but I really think it was a happy accident.  I made them again and did the icing the right way and those photos are below but I really think I liked the thicker icing better.


Yum Yum
Here are the cookies with the icing the way it's supposed to be!  You decide how you want them to be.


Texas Sheet Cake Cookies
makes 24 cookies

Ingredients
1/2 cup butter, room temperature
1/3 cup granulated sugar
1 egg
1 tsp vanilla
1 tsp baking powder
1/2 tsp salt
1 1/3 cup flour
1/2 cup semi-sweet chocolate chips, melted
1/2 cup butter
2 Tbsp cocoa powder
3 Tbsp milk
2 1/2 cups powdered sugar

How to Make
1. Preheat oven to 350°
2. Line baking sheet with parchment or silicone mat, set aside.
3. In bowl of stand mixer beat butter and sugar together until light, scraping sides frequently.
4. Add in egg and vanilla and continue mixing until incorporated. Mix in baking powder and salt.
5. Turn mixer to low and slowly add in flour. Dough will be thick.
6. In a microwave safe bowl heat chocolate chips on high in 30 second increments until melted,
stirring after every 30 seconds.
7. Mix melted chocolate directly into cookie dough until evenly mixed.
8. Drop dough by a measured tablespoon sized mounds onto baking sheet. Bake for 7-8 minutes until
cookies just appear set. They will still be very soft on the inside. DO NOT overbake!!
9. Transfer to a wire rack to cool.
10. In a medium saucepan combine butter, cocoa powder and milk over medium heat, whisking until
melted together. Remove from heat and whisk in powdered sugar.
11. Pour icing over cookies and allow icing to set before serving.
Notes
store at room temperature for up to 3 days.
*Make sure not to overbake these cookies. The insides will remain soft and dense if baked correctly.

Friday, January 20, 2012

Easy Pumpkin Chocolate Chip Cookies or Muffins


Have you had these cookies before? If yes, this is just a friendly reminder. If no, this recipe will change your life :) These cookies are fabulous, easy and work in the weight watchers point system for treats that I can have (sparingly). It's just a throw together and yet tastes so good. There is also a variation you can use that I have not tried out but it is using a chocolate cake mix instead of spice and making them into 12 muffins. I will be trying that at a later date. Whether you are trying to watch your weight or not, these little gems are amazing.


Only three ingredients.


Using a medium sized bowl mix the dry cake mix and the pumpkin together well by hand. Add the choco chips. I love the mini chips because then you have an explosion of chocolate in every bite but the regular ones work too. I use semi-sweet because they are my favorite.


Drop by spoonsful onto a cookie sheet and bake. I used a little toddlers spoon so they are smaller. They are about two bites or you can just shove the whole thing in your mouth at once. Just sayin.


YUMMY!!! Try them out. If you love pumpkin and chocolate together you will LOVE these.


Easy Pumpkin Chocolate Chip Cookies (or muffins)

1 Spice Cake mix
1 15 oz. can Pumpkin
1 cup chocolate chips

Mix dry cake mix and pumpkin by hand. Add chocolate chips. Drop by spoonsful onto a cookie sheet. Bake at 350* for 12 minutes.